
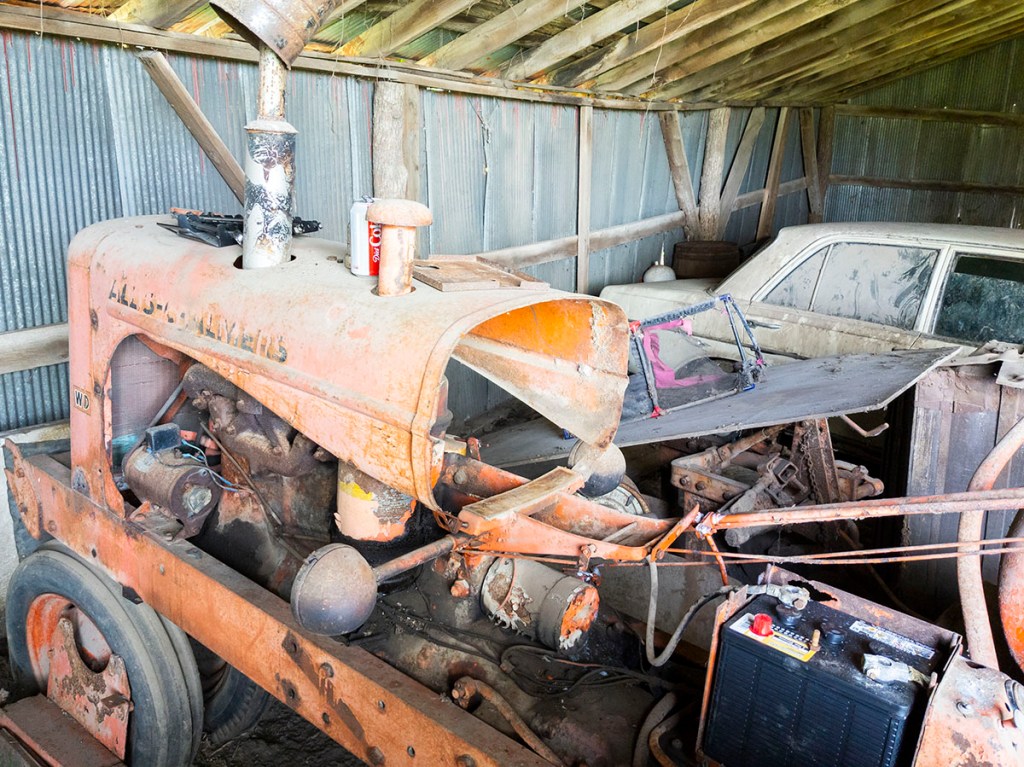
The WD
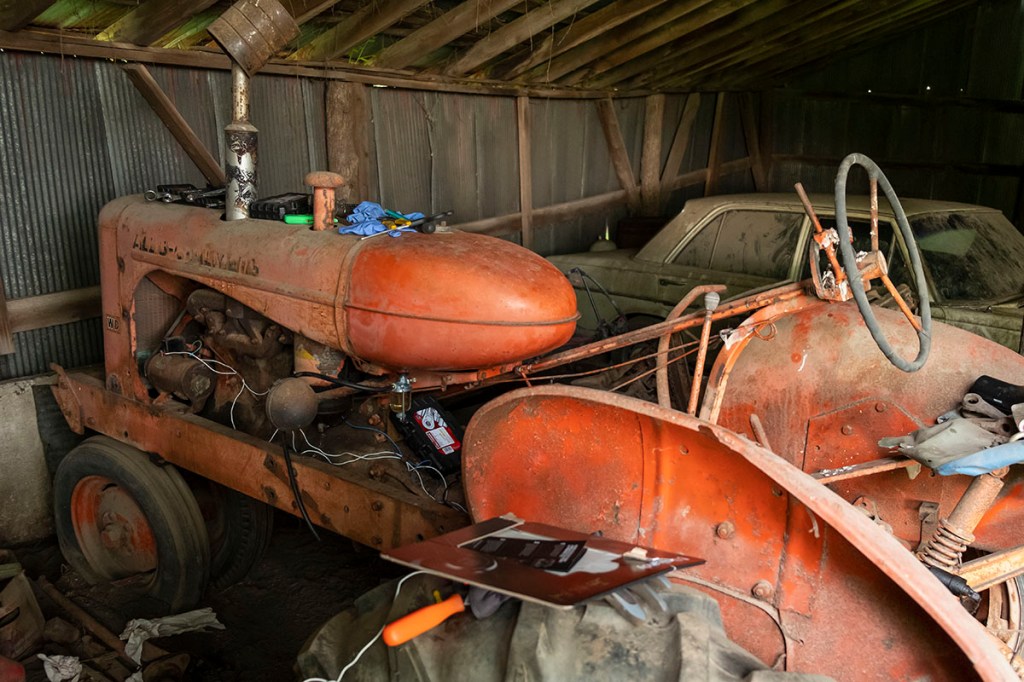
My dad and I had started working on my grandfather’s old Allis Chalmers WD tractor last fall. Things kind of got put on pause over the winter since we didn’t get the usual periods of warmth. Then my dad passed away unexpectedly in the spring of 2021 before we had a chance to work on it again.
He believed it just needed a new carburetor. He wasn’t wrong, I found the old carburetor to be unrepairable due to the numerous cracks in the housing and threaded inlets.
While I was waiting for a new Zenith universal carburetor to arrive, I removed the fuel tank for cleaning and sealing.
It was at this point I decided to try to bump the engine over. It fairly quickly became apparent there was something wrong with the starter.
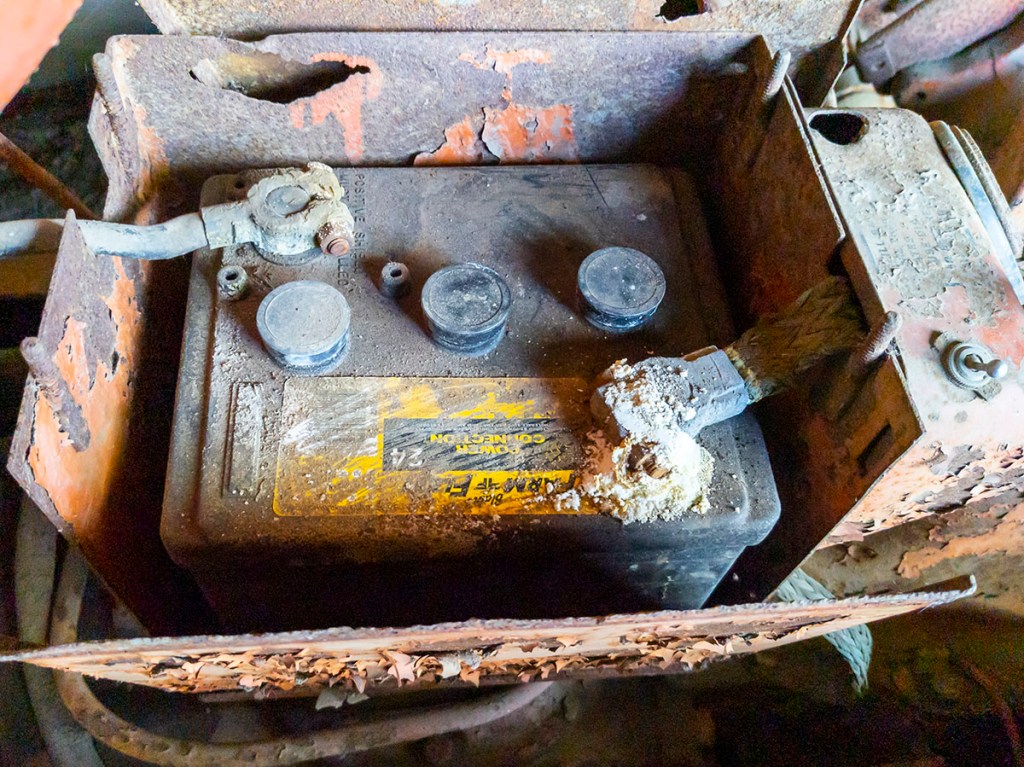
The starter was able on occasion to bump the motor over, but it also set itself on fire in the process. In retrospect, I probably should have replaced all the wires and cables on the tractor before trying to start it. This ended up happening once I realized just how badly corroded some of the wiring was.
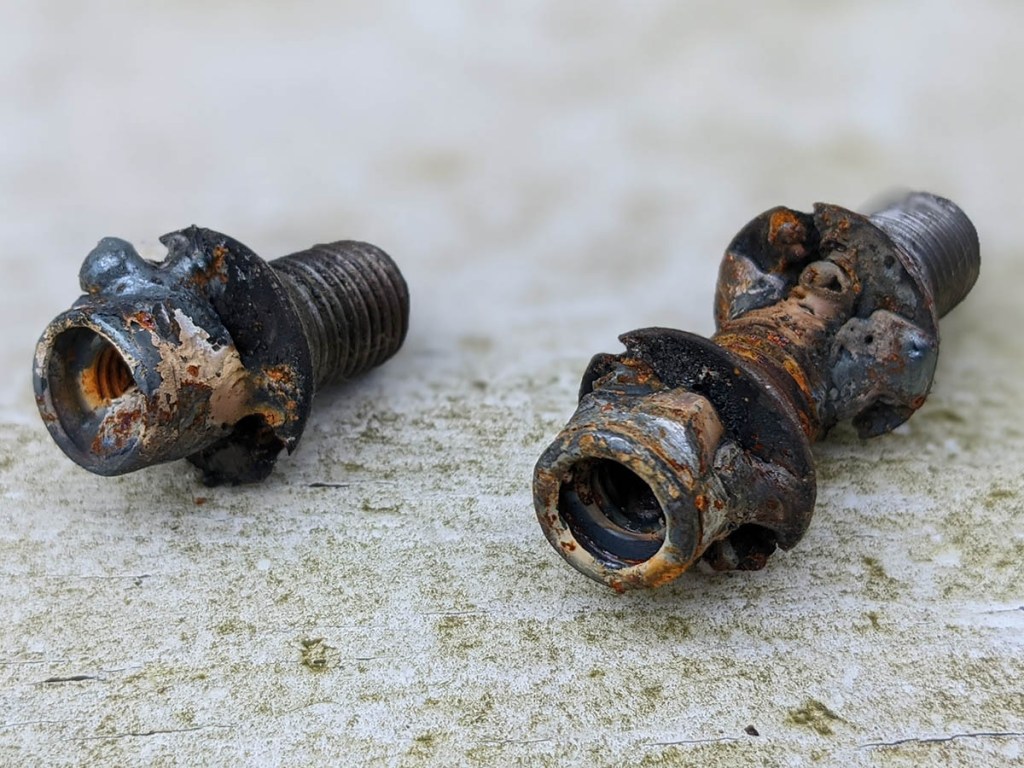
I initially attempted to rebuild the starter that was on the tractor. To just get it taken apart was a tremendous pain. I had to weld nuts onto the field coil screws just to get the screws out. In the end, my attempt to rebuild it failed. The reassembled unit had an internal short that I could never locate.
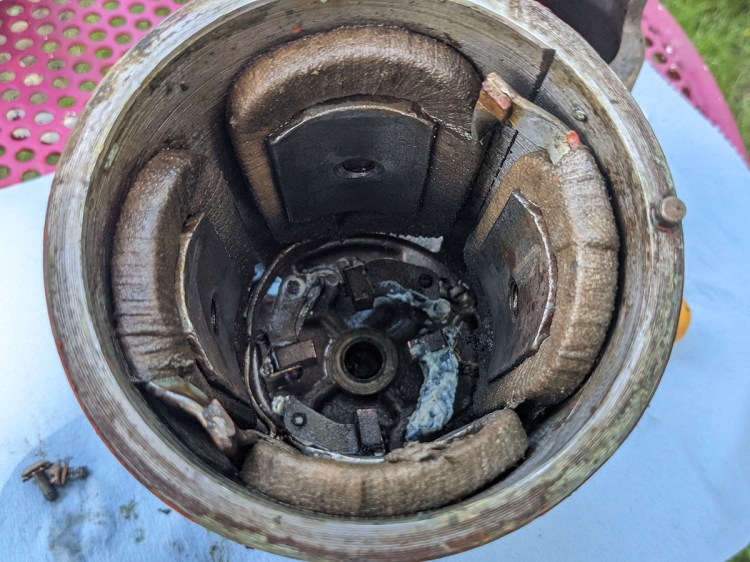
I resorted to purchasing a remanufactured starter. The way the “new” starter performed made me certain there was something wrong with the original starter even if it had likely been rebuilt at some point.
After rewiring the whole tractor I was getting a solid 6V from the coil to the distributor. I was confident the coil was good. Not being so confident about the rest of the ignition system, I opted to replace all of it.
Replacing the plugs, cap, distributor, rotor, points, and condenser proved to be fairly straightforward. After I set the gap correctly, I saw a healthy-looking spark with the cap removed.
The first attempt didn’t go as planned. There was spark and gas in the tank, but no signs of life. I noticed the fuel line was dry despite the presence of fuel in the sediment bowl. It turns out there somehow wasn’t enough gas in the gas tank for it to reach the carburetor. Once that was remedied the tractor sputtered to life.
I was able to tune the carburetor well enough to get the tractor moving.
At this point, I still hadn’t been able to change the oil. I had verified the cooling system still had coolant in it. I had the throttle linkage on in reverse but didn’t know that yet.
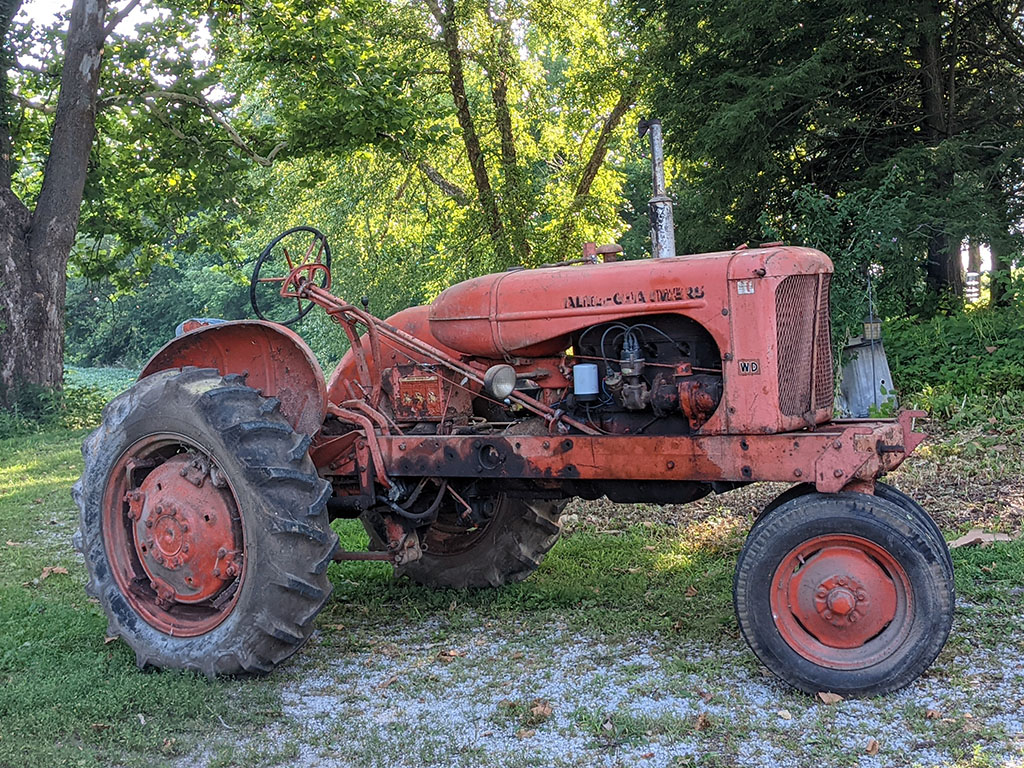
My first stop after getting it moving was by the hose. The WD was in desperate need of a bath.
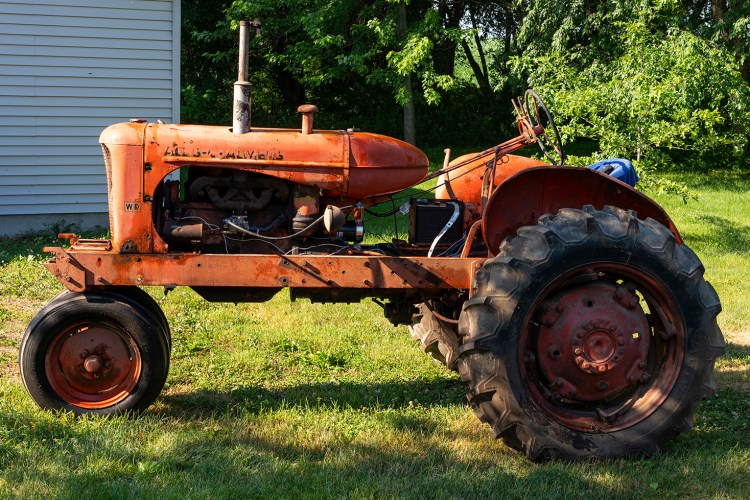
For the first time in more than a decade, the WD left its home in the shed.
To my surprise, 3 out of 4 of the tires still held air.
I would have preferred to have changed the oil in it before moving it. The lower drain bolt was too stripped for me to get it off. In the daylight, I was able to see there also a drain bolt on the side of the pan. I was able to pump the old oil out of the pan through this drain.
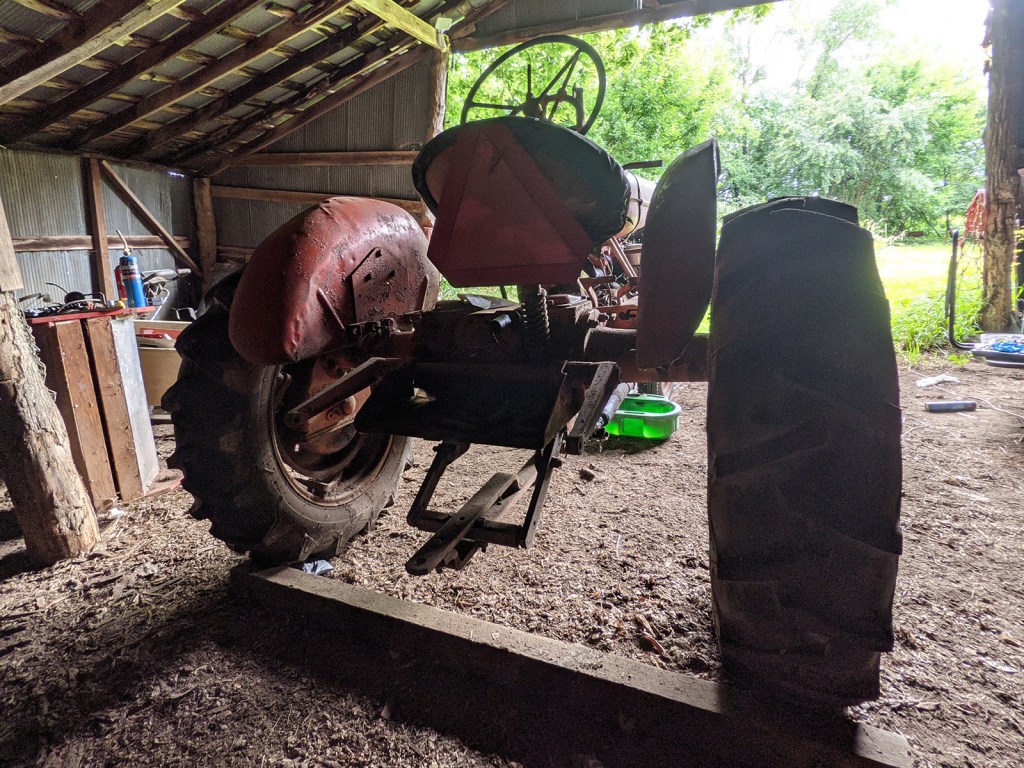
The seat of the WD was quite wobbly. Swinging back and forth was fairly disconcerting when driving over uneven terrain.
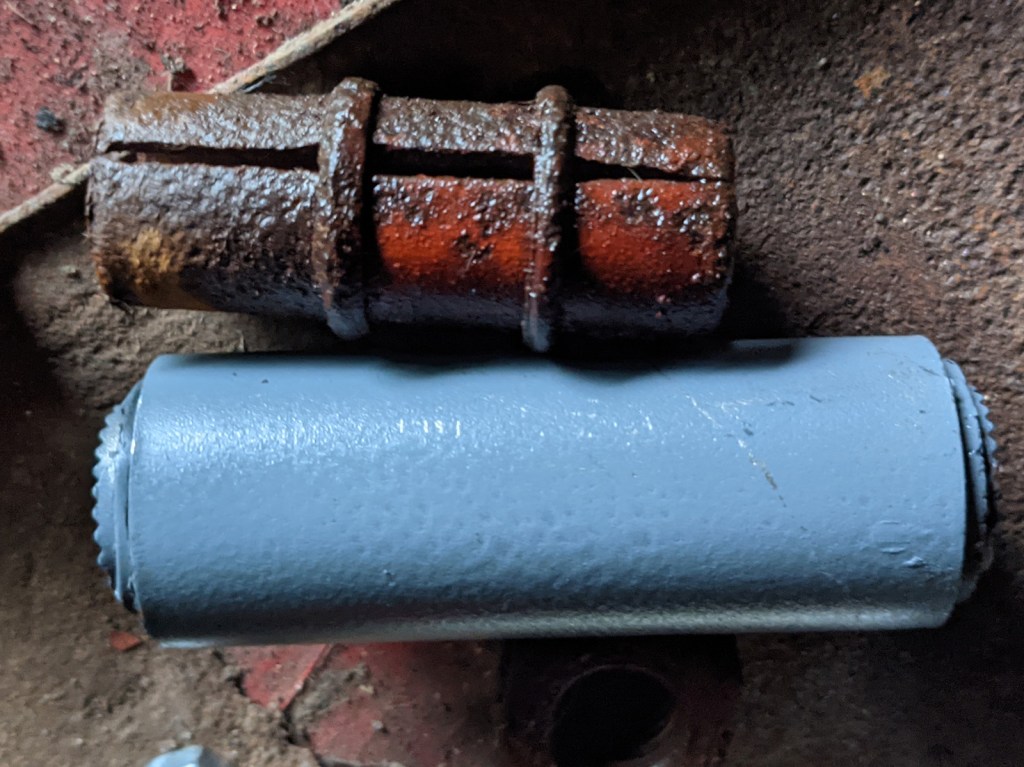
There are a total of 5 bushings and 1 shock absorber supporting the seat. My next step was to replace all of the seat bushings. The main bushing that’s pictured is the most difficult as it must be pressed in.
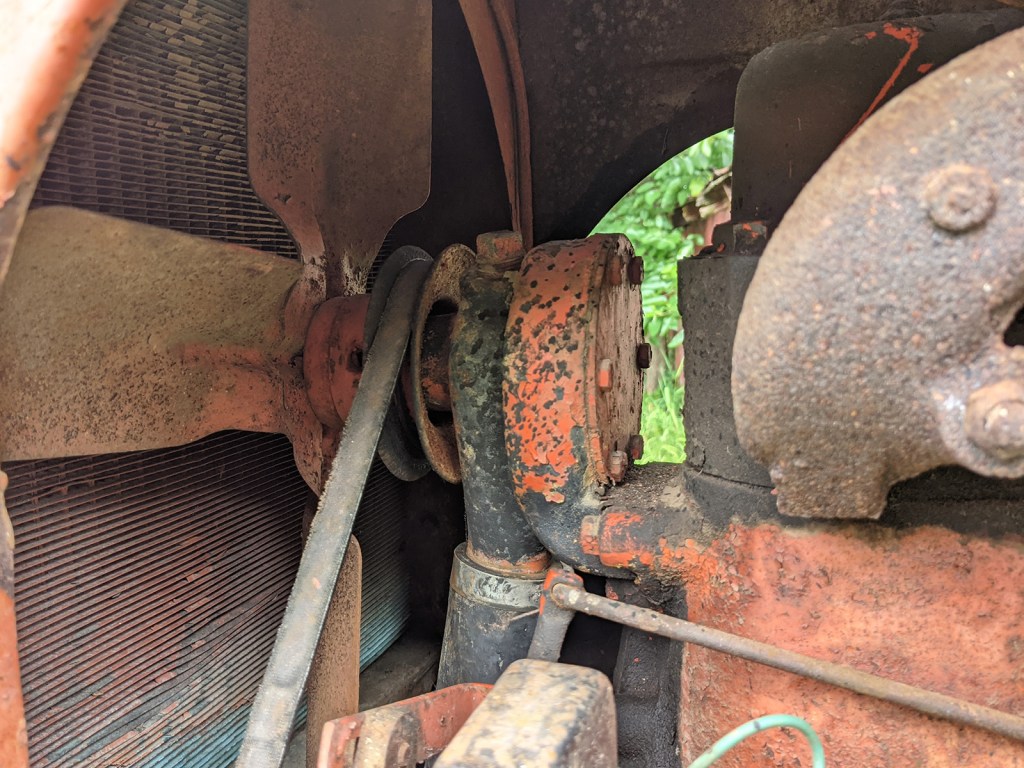
Due to its age and some unpleasant noises, I replaced the water pump, serpentine belt, and all of the rubber coolant hoses. I assumed all of these items were quite old from their appearance.

There’s not a whole lot of room in this space. I decided the path of least resistance was to unbolt the fan and set it aside. Doing this gave me enough room to wiggle the water pump out.
At the time I couldn’t see how to get the old belt out so I cut it. It turns out there’s a very narrow path that a new belt can be twisted through. It’s certainly not obvious it’s there unless you look very closely.
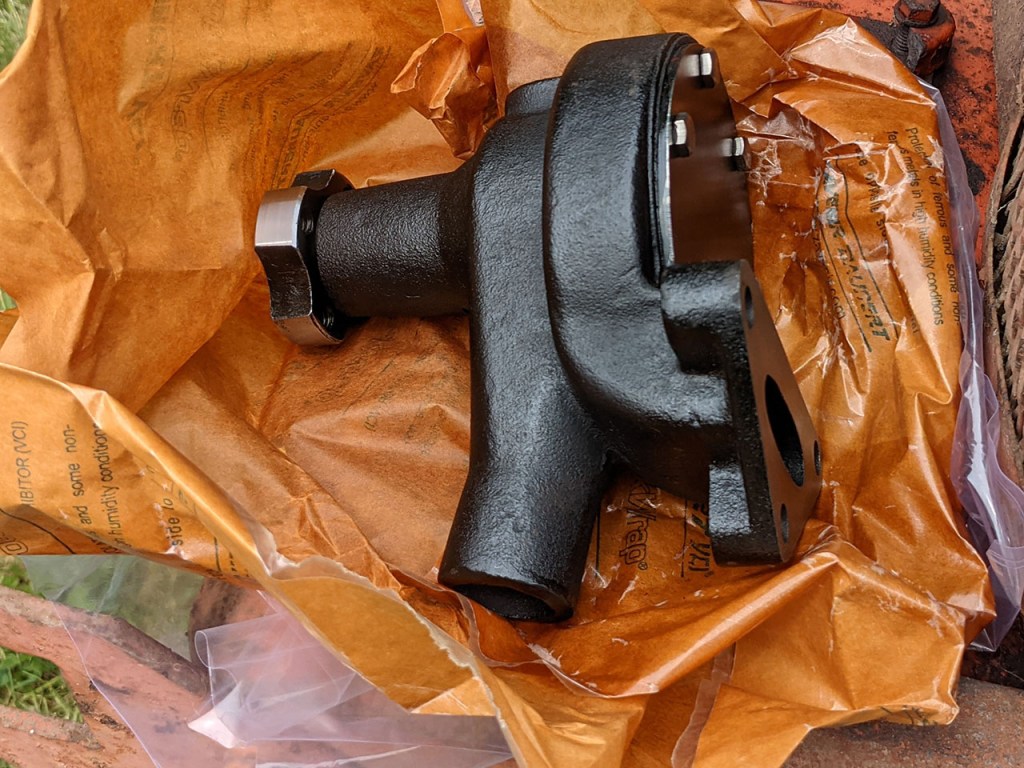
The new water pump, ready to be installed. Now was also a good time to replace the two coolant hoses and all of the hose clamps.
The WD was finally ready for its longest trip in many decades! I drove it a 1/4 mile down the road to my grandparent’s house. It was during this trip that discovered the intake tube was clogged up with looked like mud. In retrospect, it’s something I should have checked much earlier on. The clogged intake tube did explain some of the inconsistencies I faced while trying to adjust the carburetor.
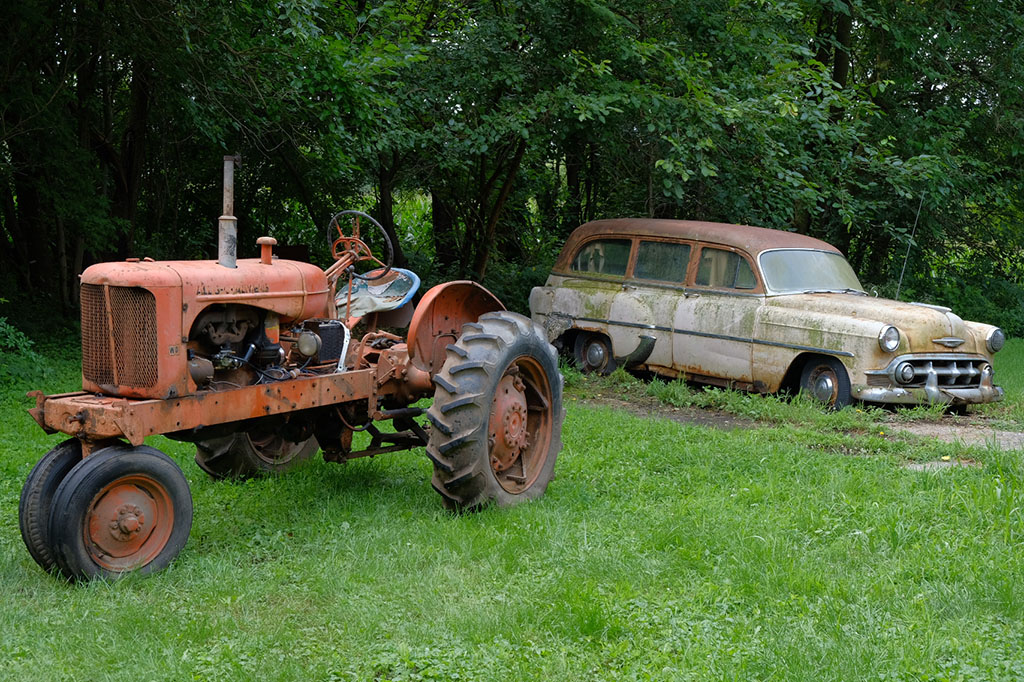
The first big test of the WDs ability to pull something heavy came with the sale of my grandparent’s ’53 Chevy Handyman wagon. It was abandoned in their barn decades ago and then dragged outside the barn to sink in the dirt for maybe 10 years.

It took a couple of good jerks but the WD was able to drag the old Chevy out of its grave. Once the wheels on the Chevy broke free it took no effort at all.
Copyright © 2021 Brian Murphy
